Thoughts on the Dell Precision m5510
1 January 2017
I just upgraded my Thinkpad T420 to a new Dell Precision m5510, the 15-inch Developer Edition laptop. In one word, it’s awesome. It ships with Ubuntu installed by default and Dell has done great work getting the support for this hardware into the mainline Linux kernel.
I got the 5510 with the following options:
- Core i5-6300HQ @ 2.3 GHz
- 16 GB RAM
- 1920x1080 matte display
- 1TB NVMe M.2 SSD
- 84 Wh battery
Originally, I was aiming to migrate my 2.5” SSD from the T420 to the 5510, but I noticed that I could omit the 2.5” drive and fill the drive bay with a larger battery. Battery life is one of my top priorities, so I opted for the 84 Wh battery (up from 54 Wh) and bought the NVMe SSD. The NVMe SSD is super fast!
Of course, I can’t just start using the laptop without making some tweaks :) Here’s what I did to get the software all set up.
1. Install Linux Mint
The system ships with Ubuntu, but I prefer Linux Mint, so my first step was to install Mint. I’m running Mint 18.1 with Cinnamon, kernel 4.4.0-57-generic.
2. Set up graphics
The 5510 comes with an Nivida Quadro M1000M connected to the CPU with Optimus. The T420 also shipped with Optimus. Fortunately, configuring the graphics is way easier than it used to be!
This step was super easy: I opened the driver manager and installed
nvidia-367. The manager also installs nvidia-prime. After a reboot,
Optimus is working flawlessly. I can toggle between nvidia and intel GPUs and
the graphics are stable and the backlight works. Excellent!
I see a little bit of tearing when I scroll, for example in web browsers. I’ve had tearing before, and I’m not yet sure what causes it here, but it’s minor and fixing it isn’t my top priority right now.
3. Adjust the touchpad
At this point, things are working great. So far, this is the easiest Linux setup I’ve had. However, this laptop has a larger touchpad than does the T420, large enough that my hands touch it while I type.
The Dell developers brought us the designware i2c driver for this touchpad,
so it’s working better than it did when the 5510 first came out as the developer
edition machine. It looks like the driver handles palm rejection, because
adjusting palm rejection settings in synclient does not affect the touchpad,
and evtest does not see palm touch events at all, which suggests that the
driver filters out palm touches.
However, palm rejection alone isn’t quite enough to keep out spurious touch events:
when I type, my thumbs hit the top of the touchpad when I press the spacebar,
and the base of my right thumb rests on the right edge of the trackpad. To
filter out these touches, I disabled touch-to-click, and added a dead zone to
the top and right margins of the touchpad using synclient, the Synaptics
touchpad driver configuration client.
Disable touch-to-click
First, I simply disabled touch-to-click. The trackpad had a physical button under it, and using this button alone to register clicks is already less prone to noise than using touches to click as well.
Add dead zones
The synaptics touchpad driver offers some customization options for the trackpad.
Disable psmouse
The psmouse kernel module interferes with the synaptics driver. I blacklisted
it by adding the following line to /etc/modprobe.d/blacklist.conf:
blacklist psmouseThen I ran update-initramfs -u to update the kernel image.
Configure the synaptics options
The parameters of interest are AreaRightEdge, which controls the dead zone on
the right side, and AreaTopEdge, which controls the dead zone at the top. Note
that the trackpad is still active in these “dead zones,” but it will ignore
touches that start there. It only responds to touches that start out of the dead
zone and cross into it.
To experiment with different options, run synclient and pass in one of these
at a time, like so:
synclient AreaTopEdge=150You can monitor what coordinates your trackpad is seeing with evtest, which
dumps the raw input events. You’ll need the input device number of your trackpad
to use evtest. Run xinput to get a list of input devices with their IDs:
xinput
⎡ Virtual core pointer                    	id=2	[master pointer  (3)]
⎜   ↳ Virtual core XTEST pointer              	id=4	[slave  pointer  (2)]
⎜   ↳ DLL06E5:01 06CB:7A13 Touchpad           	id=12	[slave  pointer  (2)]
⎣ Virtual core keyboard                   	id=3	[master keyboard (2)]
↳ Virtual core XTEST keyboard             	id=5	[slave  keyboard (3)]
↳ Power Button                            	id=6	[slave  keyboard (3)]
↳ Video Bus                               	id=7	[slave  keyboard (3)]
↳ Video Bus                               	id=8	[slave  keyboard (3)]
↳ Power Button                            	id=9	[slave  keyboard (3)]
↳ Sleep Button                            	id=10	[slave  keyboard (3)]
↳ Integrated_Webcam_HD                    	id=11	[slave  keyboard (3)]
↳ Intel HID events                        	id=13	[slave  keyboard (3)]
↳ AT Translated Set 2 keyboard            	id=14	[slave  keyboard (3)]
↳ Dell WMI hotkeys
My dell touchpad is the DLL06E5:01, which is at /dev/input/event15. Run
evtest on it to see the raw events:
sudo evtest /dev/input/event15These raw events will give you an idea of the coordinates on the trackpad. Once
I found synclient parameters that I like, I had to make the changes persist.
I created a .xprofile file in my home directory with the following synclient
commands:
synclient AreaRightEdge=1000
synclient AreaTopEdge=150
There are lots of other synclient options to play with, but these two changes
make typing way better. Now I don’t get any trackpad interference while I type!
I noticed that there may be a way to get more gesture support on the trackpad, but I haven’t tried it yet.
4. Disable Bluetooth LE to pair with Bose QC 35
I was to use my new laptop with Bose QuietComfort 35 headphones, which use Bluetooth LE (low energy) to pair with the host. Unfortunately, it looks like Linux’s BlueZ doesn’t support that pairing strategy yet, so in order to pair the QC 35s, I had to disable the BLE mode for my laptop’s Bluetooth adapter.
In /etc/bluetooth/main.conf, I changed
# ControllerMode = dualto
ControllerMode = bredrThen I restarted bluetooth with sudo service bluetooth restart.
Thanks to Victor over on AskUbuntu for these steps.
5. Fix the tearing
It took me some time to get around to working on the tearing issue. I usually
use the Intel graphics card, and Firefox was tearing badly on scroll and when
playing video. I discovered an issue on GitHub
relevant to my setup and tried what they recommend, which is to remove the
xserver-xorg-video-intel package. Now the tearing is gone. There’s another
possible fix specific to Firefox, but as far as I’m concerned removing a
package to fix an issue is preferable unless I see stability or
power-consumption side effects.
Stability
The new laptop is stable so far, except for a crash I experienced yesterday.
The laptop froze and dmesg revealed that NVMe, the storage controller, had
an error. The system failed into read-only mode and I restarted it (luckily,
I have a photo of the logs, because the drive became read-only).
I wanted to check the S.M.A.R.T. attributes for the drive, but NVMe support for
disk-monitoring tools is relatively new in Linux, so I had to build smartctl
from source, using the configuration option --with-nvme-devicescan. The output
showed everything okay:
sudo smartctl -x -d nvme /dev/nvme0

smartctl 6.5 2016-05-07 r4318 [x86_64-linux-4.4.0-57-generic] (local build)
Copyright (C) 2002-16, Bruce Allen, Christian Franke, www.smartmontools.org

=== START OF INFORMATION SECTION ===
Model Number:                       THNSN51T02DUK NVMe TOSHIBA 1024GB
Serial Number:                      966S10FGT1BT
Firmware Version:                   5KDA4101
PCI Vendor/Subsystem ID:            0x1179
IEEE OUI Identifier:                0x00080d
Controller ID:                      0
Number of Namespaces:               1
Namespace 1 Size/Capacity:          1,024,209,543,168 [1.02 TB]
Namespace 1 Formatted LBA Size:     512
Local Time is:                      Sun Jan  1 17:46:20 2017 EST
Firmware Updates (0x02):            1 Slot
Optional Admin Commands (0x0017):   Security Format Frmw_DL *Other*
Optional NVM Commands (0x001e):     Wr_Unc DS_Mngmt Wr_Zero Sav/Sel_Feat
Warning  Comp. Temp. Threshold:     78 Celsius
Critical Comp. Temp. Threshold:     82 Celsius

Supported Power States
St Op     Max   Active     Idle   RL RT WL WT  Ent_Lat  Ex_Lat
0 +     6.00W       -        -    0  0  0  0        0       0
1 +     2.40W       -        -    1  1  1  1        0       0
2 +     1.90W       -        -    2  2  2  2        0       0
3 -   0.0120W       -        -    3  3  3  3     5000   25000
4 -   0.0060W       -        -    4  4  4  4   100000   80000

Supported LBA Sizes (NSID 0x1)
Id Fmt  Data  Metadt  Rel_Perf
0 +     512       0         2
1 -    4096       0         1

=== START OF SMART DATA SECTION ===
SMART overall-health self-assessment test result: PASSED

SMART/Health Information (NVMe Log 0x02, NSID 0xffffffff)
Critical Warning:                   0x00
Temperature:                        36 Celsius
Available Spare:                    100%
Available Spare Threshold:          50%
Percentage Used:                    0%
Data Units Read:                    172,363 [88.2 GB]
Data Units Written:                 579,378 [296 GB]
Host Read Commands:                 3,566,794
Host Write Commands:                10,514,861
Controller Busy Time:               16
Power Cycles:                       60
Power On Hours:                     38
Unsafe Shutdowns:                   19
Media and Data Integrity Errors:    0
Error Information Log Entries:      0
Warning  Comp. Temperature Time:    0
Critical Comp. Temperature Time:    0
Temperature Sensor 1:               36 Celsius

Error Information (NVMe Log 0x01, max 128 entries)
No Errors Logged
We’ll see how the drive holds up; hopefully this error was a minor software issue and not a hardware fault.
Update 5 Jan 2017
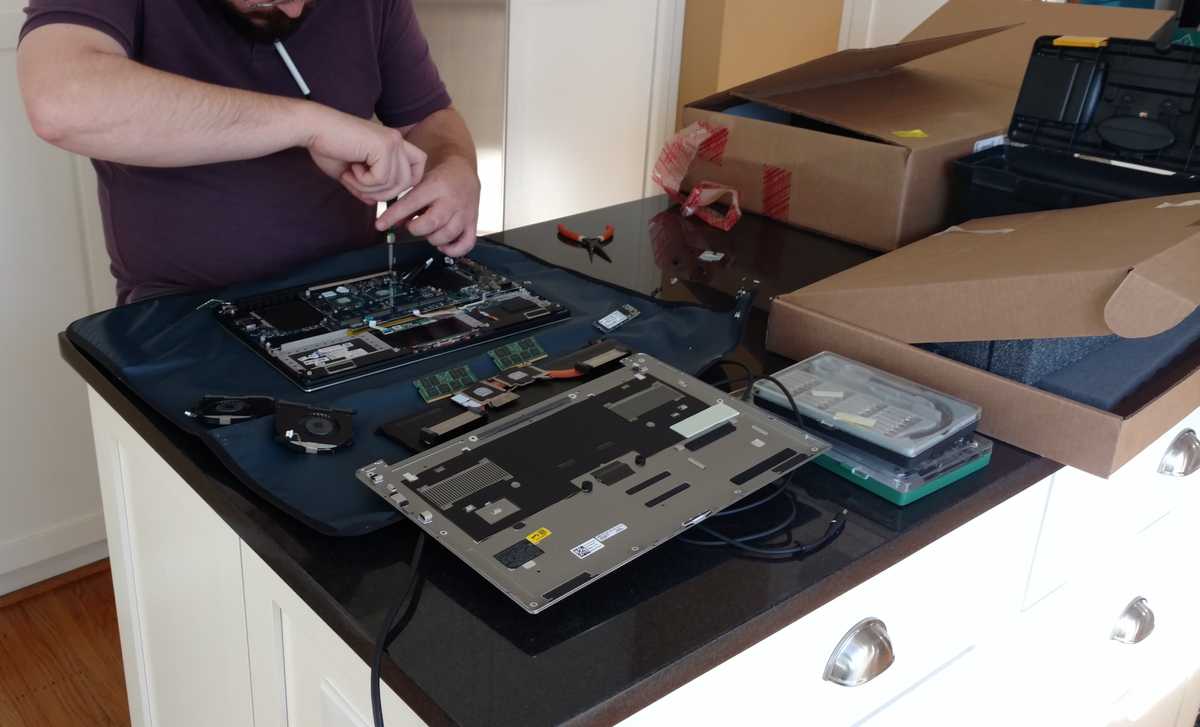
The NVMe crash returned once a day for a total of three crashes. I contacted Dell support and they were incredibly responsive. The technician came to my house the next day and replaced the SSD and motherboard on my laptop. So far, so good. Ideally, there would be no problem to begin with, but the service has been a great experience.
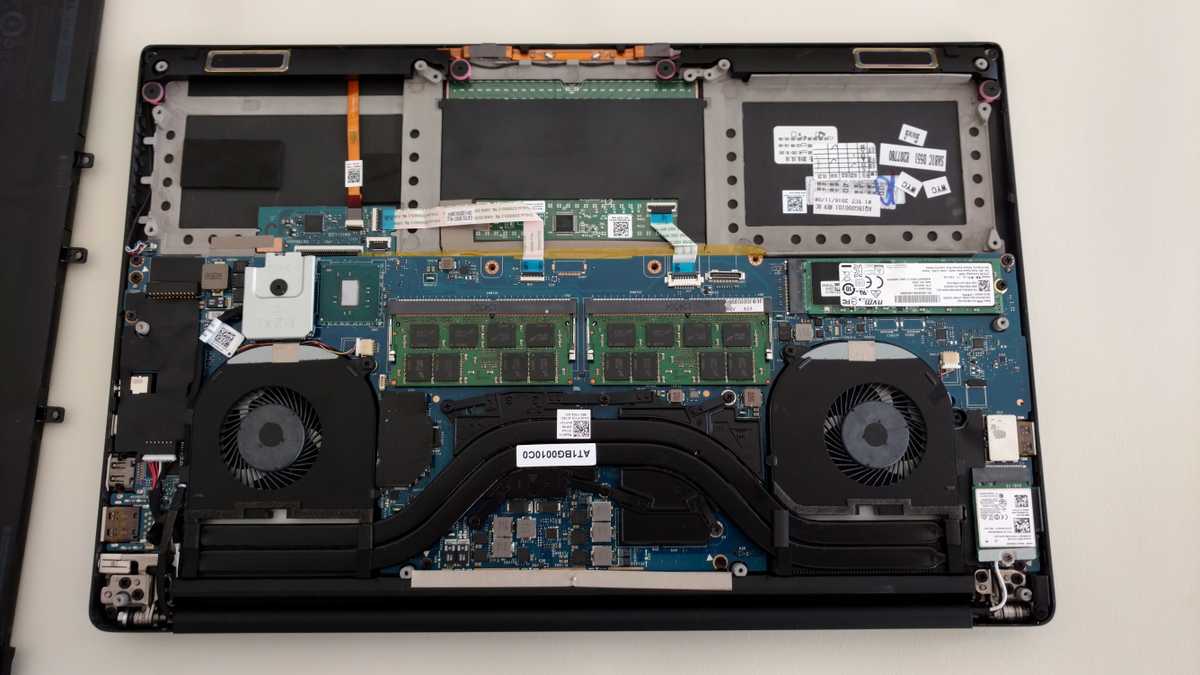
The new SSD is a made by Lite-on instead of Toshiba. The motherboard is indistinguishable from the old one, and it comes with a new CPU and GPU.

